How to Create a WordPress Downtime Recovery Plan
Website downtime can cost your business money and trust. A WordPress downtime recovery plan ensures you’re prepared to act fast and minimize damage. Here’s what you need to do:
- Backups: Automate daily backups for your database and files. Store them securely off-site using the 3-2-1 rule.
- Redundancy: Use tools like CDNs and secondary DNS systems to keep your site online during outages.
- Response Protocols: Assign team roles, define clear steps, and maintain communication during downtime.
- Routine Testing: Regularly test your backups, recovery process, and site changes in a staging environment.
Quick Tip: Set a target response time of 5 minutes and aim to resolve critical issues within 1 hour.
A solid recovery plan means fewer disruptions and a faster path to getting your site back online.
Essential Guide to Website Disaster Recovery & What To …
Setting Up Website Backups
Backups are your safety net for recovering from unexpected downtime, allowing you to restore your site quickly.
Backup Tools and Methods
Make sure to back up all essential parts of your site:
- Database backups: Includes posts, pages, comments, and settings.
- File backups: Covers themes, plugins, uploads, and any custom code.
- Configuration files: Such as
wp-config.phpand.htaccess.
Key features to look for in backup solutions:
- Automated scheduling: Keeps backups running on their own.
- Incremental backups: Only saves changes to save space and time.
- Easy restoration: A straightforward process to get your site back up.
- Version control: Keeps multiple copies for flexibility.
- Encryption: Ensures data is secure during transfer and storage.
Backup Schedule Planning
How often you back up depends on how frequently your site content changes:
| Site Type | Content Updates | Suggested Backup Schedule |
|---|---|---|
| Blog | Weekly posts | Database: Daily Files: Weekly |
| E-commerce | Regular orders | Database: Hourly Files: Daily |
| Corporate | Monthly updates | Database: Daily Files: Monthly |
For comprehensive protection, keep backups for different timeframes: 30 days of daily backups, 3 months of weekly backups, and 1 year of monthly backups.
Secure Backup Storage
Follow the 3-2-1 rule to store backups safely:
- 3 copies of your data.
- 2 different storage types.
- 1 copy stored off-site.
Some secure storage options include:
- Cloud storage services with strong encryption.
- External hard drives kept in safe locations.
- Dedicated backup servers.
- Encrypted USB drives, suitable for smaller websites.
Test your backup restoration process every month, and update your documentation as needed. Once your backups are secure and tested, you can focus on setting up site redundancy.
Building Site Redundancy
Site redundancy ensures your website stays online even when primary systems experience issues. By adding multiple layers of protection, you can minimize downtime and maintain operations.
CDN Setup and Benefits
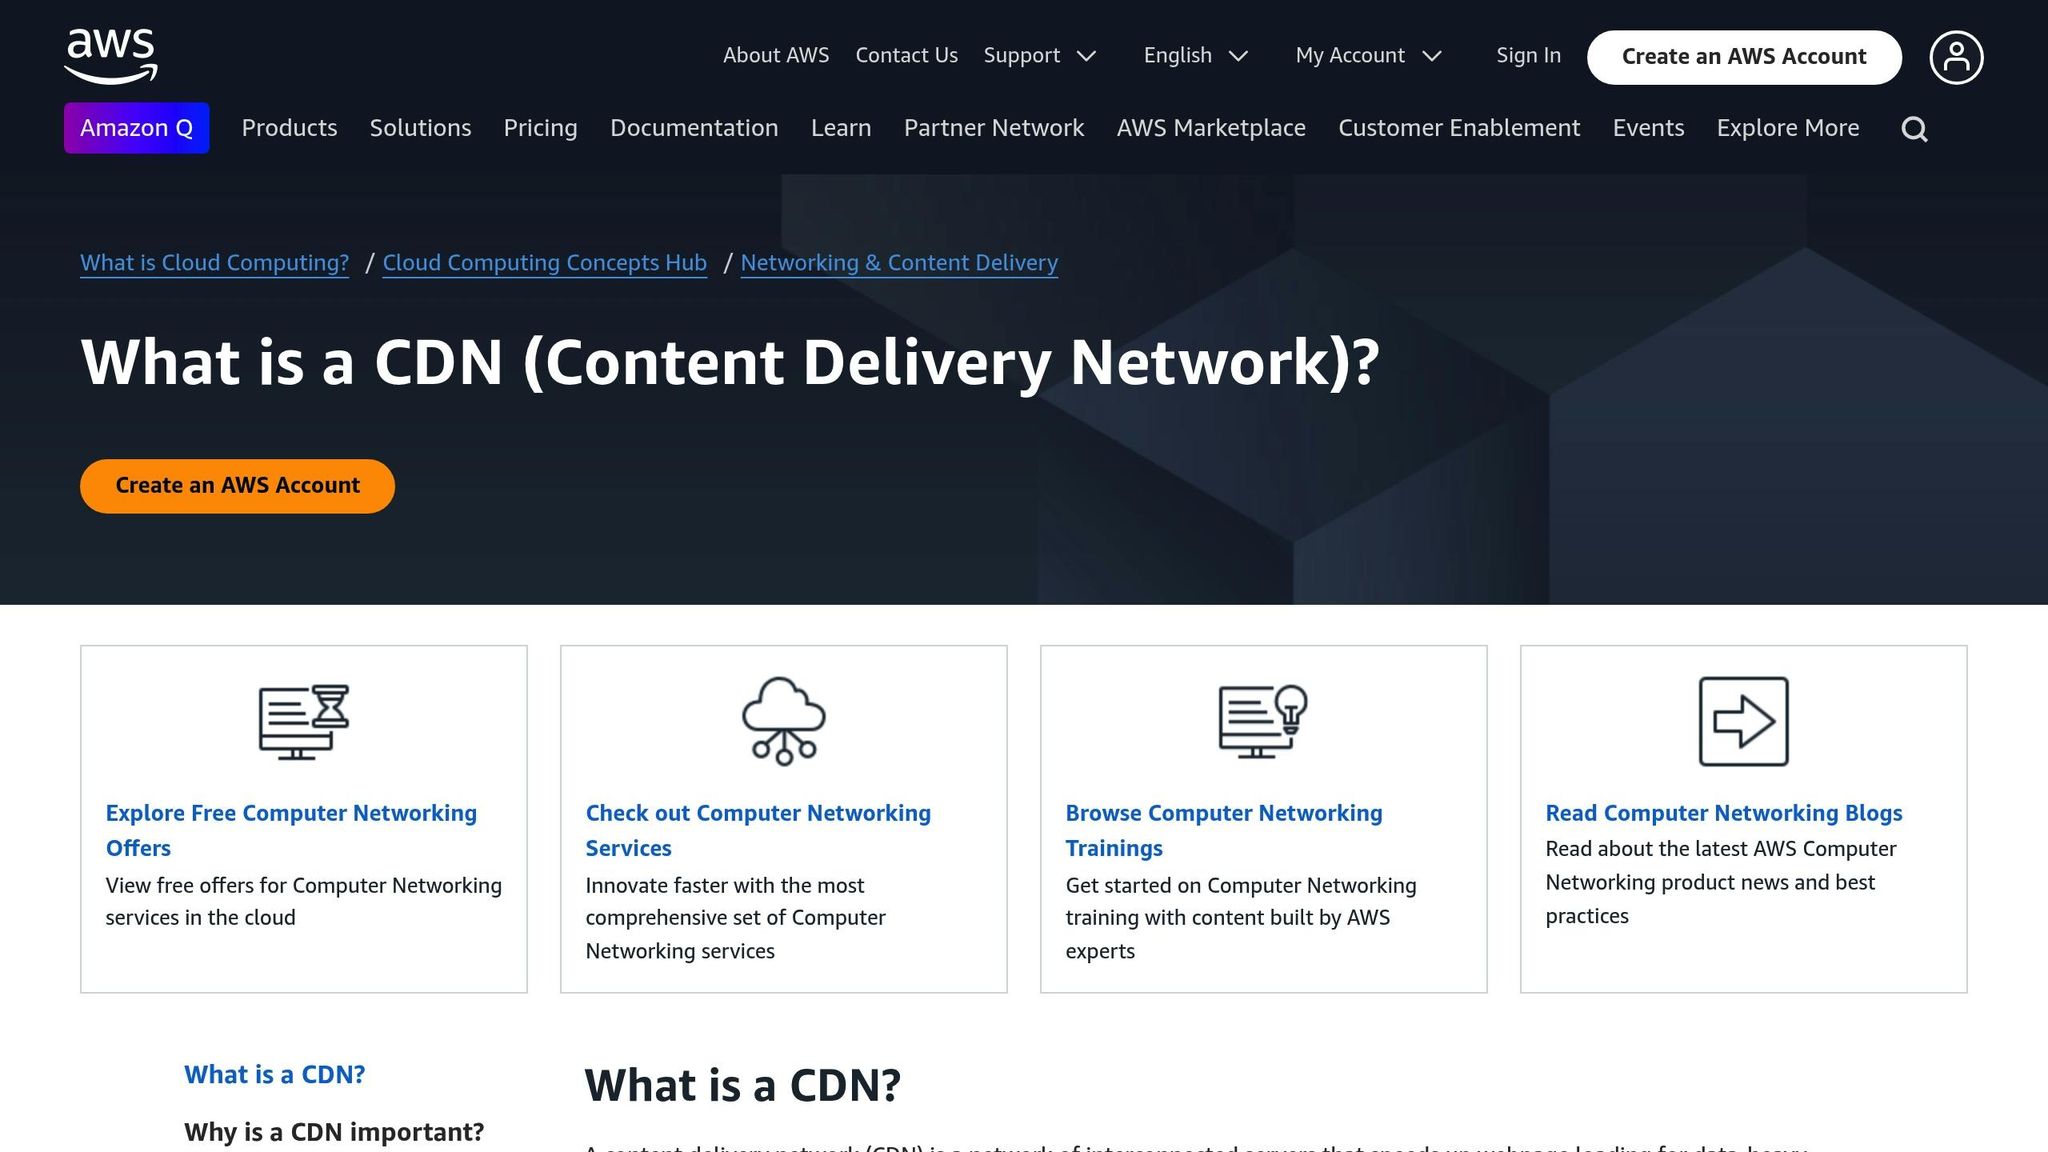
A Content Delivery Network (CDN) stores copies of your content on a global network of servers. This setup offers several key advantages:
- Global availability: Users can access content from servers closest to their location.
- Load distribution: Traffic is spread across multiple servers to prevent overload.
- DDoS protection: The network helps absorb and mitigate attacks.
- Cached content: Static files remain accessible even if the main server goes down.
To set up a CDN:
- Choose a CDN provider that fits your needs.
- Update your DNS settings to route traffic through the CDN.
- Configure caching rules for your content.
- Enable SSL to secure data transmission.
- Test the setup from various locations to ensure proper functionality.
DNS Backup Systems
1. Primary DNS Configuration
Monitor your primary server regularly (every 60 seconds) for:
- Server response times
- HTTP status codes
- TCP port availability
2. Secondary DNS Setup
Establish a backup DNS with synchronized zone files, automated health checks, and failover mechanisms to handle downtime.
3. Recovery Parameters
Set clear thresholds for failover and recovery:
- Response time: Trigger failover if response exceeds 3 seconds.
- Failed health checks: Switch after 3 consecutive failures.
- Automatic failback: Revert to the primary DNS after 5 minutes of stable performance.
Testing Environment Setup
A staging environment that mirrors your live site is essential for testing changes and recovery plans. Here’s a breakdown:
| Component | Purpose | Update Frequency |
|---|---|---|
| Database Clone | Test data-related tasks | Daily sync |
| File System Copy | Validate file integrity | Weekly sync |
| Plugin Updates | Safely test updates | Before deployment |
| Theme Changes | Check design changes | As needed |
Important considerations for your testing environment:
- Isolation: Ensure staging is entirely separate from the live site.
- Access Control: Restrict access to authorized personnel only.
- Data Synchronization: Regularly update staging with production data.
- Performance Monitoring: Keep an eye on resource usage during tests.
- Security Protocols: Apply the same security measures as your live site.
With these redundancy measures in place, establish clear response protocols to handle downtime effectively.
sbb-itb-d55364e
Creating Response Guidelines
Clear protocols help reduce downtime and its effects.
Team Response Roles
Assign specific responsibilities to team members to avoid confusion during incidents:
| Role | Primary Responsibilities | Secondary Tasks |
|---|---|---|
| First Responder | Initial assessment, triage | Status updates |
| Technical Lead | Diagnostic analysis, fix implementation | Recovery validation |
| Communications Manager | Stakeholder updates | Documentation |
| System Administrator | Server management, backup restoration | Performance monitoring |
| Quality Assurance | Testing recovered systems | User experience verification |
Make sure each role has a backup for 24/7 coverage. Keep contact details and preferred communication channels documented for fast coordination.
Clearly defined roles ensure smoother communication during incidents.
Communication Guidelines
Set clear communication practices to keep everyone informed during downtime:
1. Internal Communications
Use a dedicated emergency channel in your team’s communication platform. Regularly update it with:
- Current system status
- Recovery progress
- Required actions
- Estimated resolution time
2. External Communications
Be transparent with users by providing updates through:
- Status pages (every 15-30 minutes)
- Email notifications for major issues
- Social media updates for widespread problems
- A custom maintenance page with key details
3. Documentation Requirements
Keep a detailed record of the incident, including:
- Timestamp of the first alert
- Actions taken and their results
- Resource allocation
- Resolution time
- Root cause analysis
Recovery Steps Guide
Develop a step-by-step process to restore WordPress functionality:
1. Initial Assessment
- Check server status and error logs
- Verify database connectivity
- Review recent updates
- Identify affected components
2. Immediate Actions
- Enable maintenance mode
- Purge caches
- Check for plugin conflicts
- Verify SSL certificates
- Review server resources
3. Recovery Implementation
Restore from the latest backup, fix file permissions, update DNS if needed, verify database integrity, and test core functionality.
4. Service Restoration
- Run security scans
- Validate all site functions
- Monitor performance metrics
- Update recovery procedures
Assign specific timing for each step to ensure a quick recovery. Use the table below to set response and resolution goals based on incident severity:
| Severity Level | Target Response Time | Resolution Goal |
|---|---|---|
| Critical | 5 minutes | 1 hour |
| High | 15 minutes | 4 hours |
| Medium | 30 minutes | 8 hours |
| Low | 2 hours | 24 hours |
Finally, regularly test and update your recovery plan to stay prepared.
Plan Testing and Updates
Regular testing is crucial to make sure your recovery procedures stay effective and aligned with your current needs.
Running Recovery Tests
Schedule frequent recovery drills to check how well your plan works. Simulate scenarios like database crashes, server outages, plugin issues, or security incidents. Document what happens during these exercises – response times, success rates, and any problems. This data helps you identify areas to improve and fine-tune your recovery process.
Measuring Recovery Speed
Keep an eye on your recovery process by tracking important metrics. Look at detection time, how quickly you respond, and the total time it takes to restore everything. Use system logs and recovery records to spot delays and adjust your methods to make things smoother.
Keeping Plans Current
Review and update your recovery plan regularly, especially when major changes occur. Examples include WordPress core updates, adding new plugins, server changes, or shifts in infrastructure. Create a routine schedule for reviews and maintain a change log to ensure your plan grows with your site’s needs.
Next Steps
Now that you’ve outlined and tested the components of your recovery plan, it’s time to take action and implement your strategy.
Key Takeaways
A solid downtime recovery plan includes secure backups, redundancy, clear response steps, and routine testing. Here’s what to prioritize:
- Daily automated backups stored off-site to protect your data.
- Redundant systems to keep your site running without interruptions.
- Clear response guidelines to help your team handle outages effectively.
Osom WP Host Services
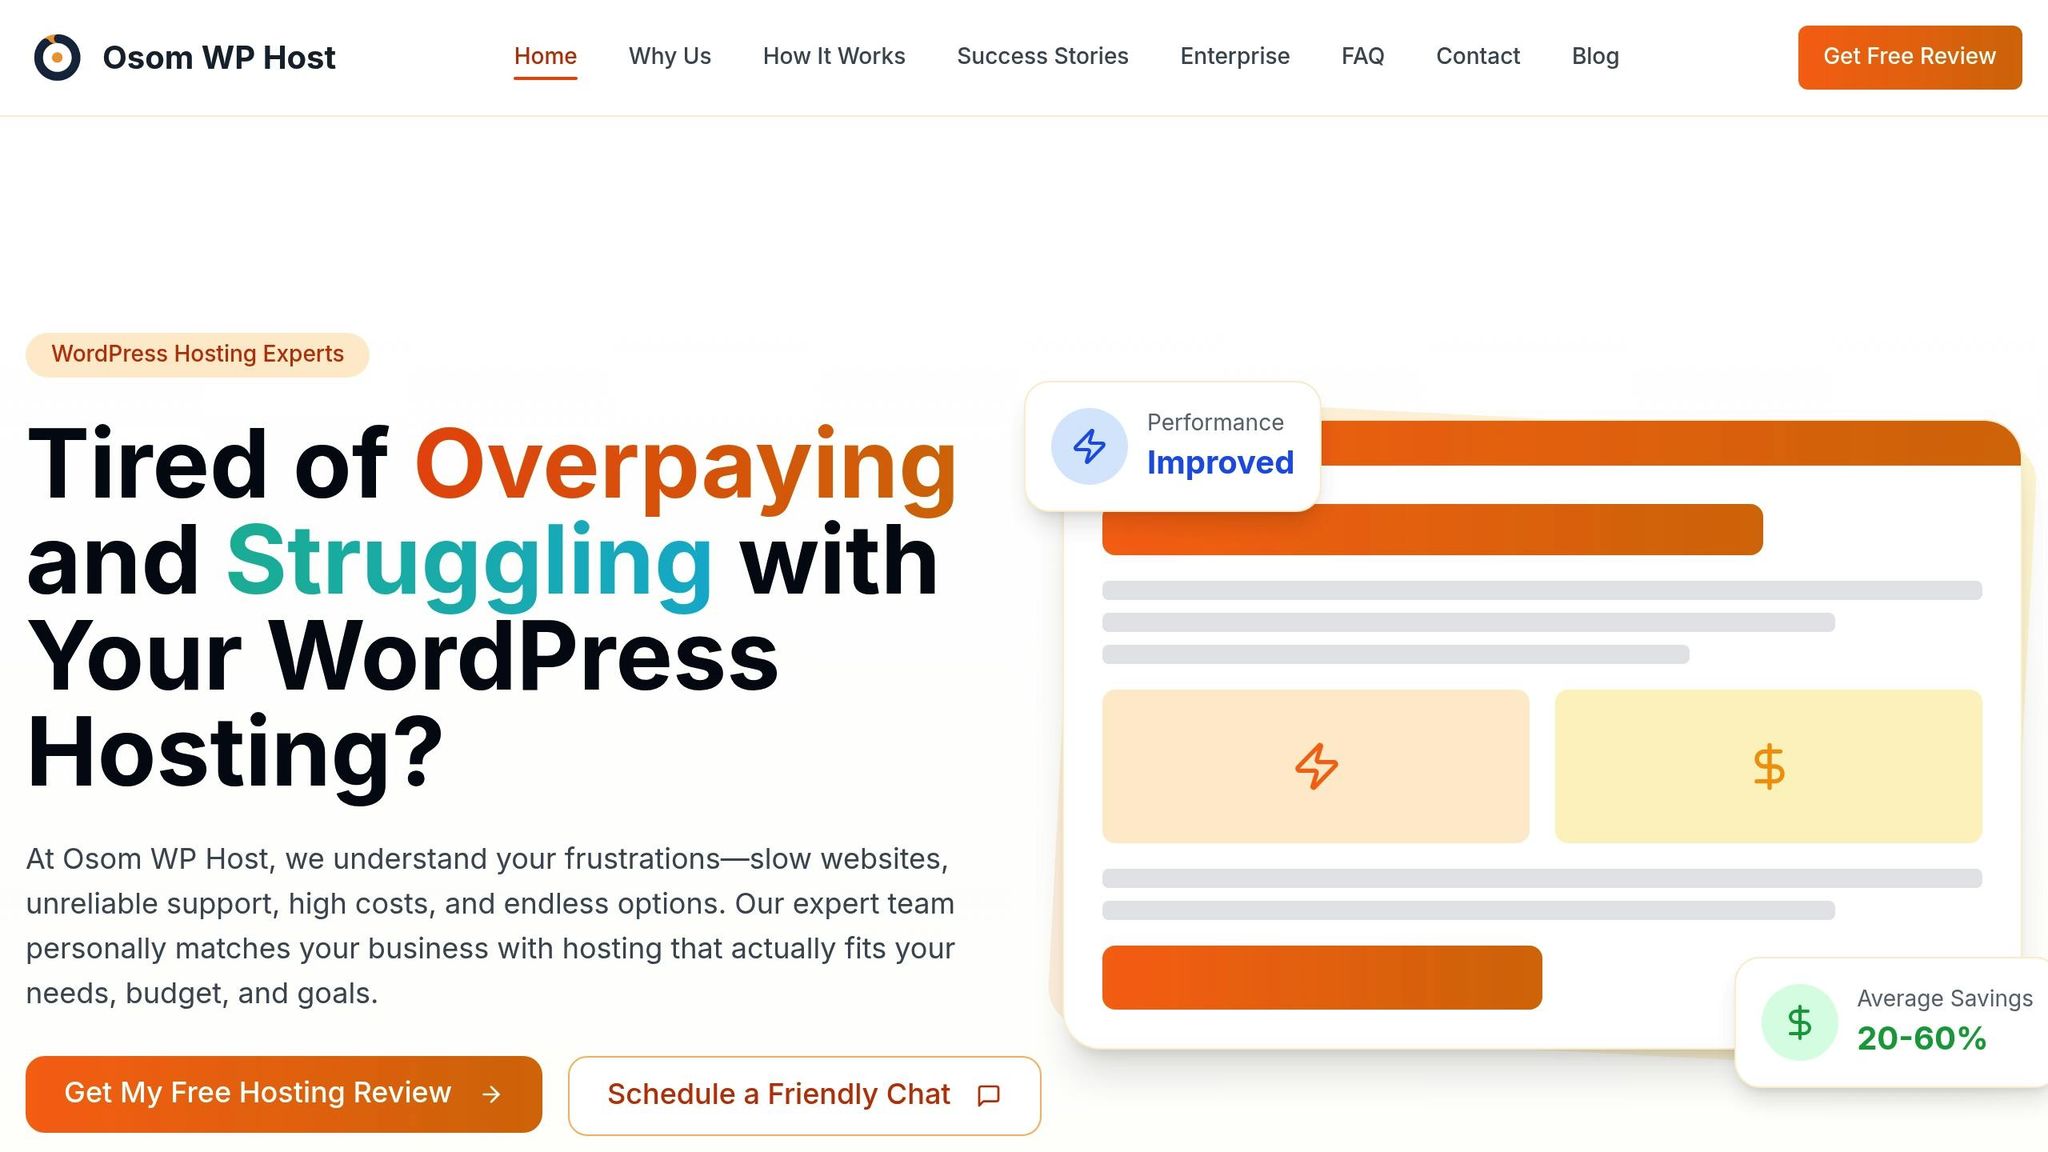
Choosing the right hosting provider can make a big difference in your recovery plan’s success. Osom WP Host evaluates your site’s traffic, security, and backup needs to recommend the best WordPress hosting solutions. Their expertise ensures your website stays reliable and resilient. Ready to put your plan into motion? Let’s get started.
Steps to Begin
- Document your WordPress setup: Make a list of your themes, plugins, and customizations.
- Audit your setup: Identify potential risk areas that could impact your site.
- Update team roles: Confirm and revise who handles what during outages.
- Set up automated backups: Ensure backups run daily and are stored off-site.
- Practice recovery drills: Test your plan regularly to ensure it works when needed.
As your website evolves, keep refining your recovery plan. Collaborate with WordPress hosting experts to ensure your strategy stays aligned with your site’s growing needs.